Mandala Circular Ornament: Practical Advice for Designers, Crafters, and Small Business Owners
Mandala circular ornaments have become a staple across design and crafting communities. Their symmetrical, intricate patterns fit everything from laser-cut wood décor to printed apparel, and they appear in countless digital marketplaces. The Mandala Circular Ornament and Mandala Circular Lace Ornament Single Vector Isolated on White Background is one such offering—a versatile digital product that provides SVG, DXF, PNG, JPG, and EPS files in high resolution. While the format variety and potential applications are impressive, many people run into avoidable problems when selecting, downloading, or using these files. This article walks through common pitfalls and shows you how to get cleaner cuts, better prints, and smoother workflows every time.
What Makes a Mandala Circular Ornament Worth Your Time
A well-designed mandala circular ornament serves as a ready-made decorative element. It can be resized, recolored, layered, or combined with other graphics without starting from scratch. For professionals and hobbyists alike, it saves hours of drawing time while delivering a polished, symmetrical result. The product you are considering includes multiple file formats to accommodate different workflows, which is exactly the kind of flexibility you need when moving between design software, cutting machines, and printing services.
That said, having many file types does not automatically guarantee success. Understanding what each format does and where it falls short is the first step toward avoiding frustration.
Mistake #1: Choosing the Wrong File Format for Your Machine or Software
One of the most frequent misunderstandings involves file compatibility. Beginners often assume that an SVG will work perfectly everywhere, or that a DXF opens seamlessly in every version of a program. Neither is true.
SVG files are ideal for Cricut Design Space, Silhouette Studio (with the Designer Edition upgrade), Adobe Illustrator, CorelDRAW, Inkscape, and similar vector applications. However, if you are using the free basic version of Silhouette Studio, SVG files will not open. You need the DXF version instead.
DXF files are a safer bet for Silhouette users without the Designer Edition upgrade. They also work well with CNC, plasma, laser, and water-jet cutting machines. But DXF files can sometimes lose color information or layer structure when exported from different programs. Always check that the DXF you download contains the full vector paths you expect.
EPS files are excellent for professional print workflows and older design software, but they are not directly usable with Cricut or Silhouette without conversion. PNG and JPG at 300 DPI are your go-to for printing, sublimation, and mockups. They are raster images, so scaling them beyond their original resolution will produce pixelation.
Better approach: Before you purchase, make a short list of the software and machines you actually use. If you primarily work in Silhouette Studio without the upgrade, confirm that the product includes a DXF file that opens in that environment. If you design in Illustrator and cut with a laser, the SVG or EPS will serve you best. Taking two minutes to match formats to your tools saves you the headache of downloading a file you cannot open.
Mistake #2: Overlooking Resolution and DPI Requirements for Print
When you intend to print the mandala on shirts, mugs, canvas, or paper, resolution matters. The product listing specifies 300 DPI for both PNG and JPG files. That is the standard for high-quality print—anything lower will look soft or jagged once printed.
A common error is downloading the PNG and assuming it will look as crisp on a large poster as it does on screen. Screen resolution is typically 72 DPI, so a file that looks smooth on your monitor may appear blurry when printed at full size. Even at 300 DPI, a small PNG file (say 1000 pixels wide) will only produce a print of around 3.3 inches at that resolution. If you need a larger print, you must either resize the vector file (SVG, DXF, or EPS) or start with a larger raster file.
Better approach: Determine your final print size before choosing your format. For anything larger than a standard sheet of paper, stick with the vector formats. They scale infinitely without losing quality. If you must use the PNG, confirm that its pixel dimensions support your intended output size at 300 DPI. A quick calculation—width in inches multiplied by 300—gives you the required pixel width.
Mistake #3: Ignoring the Fine Details When Preparing Files for Cutting
Mandala circular ornaments are intricate by nature. Those delicate lines and small interior cutouts are beautiful on screen, but they can become a liability when transferred to a cutting machine or laser cutter. Beginners often load the file directly and hit "cut," only to find that thin bridges snap, tiny circles burn away, or the material tears during weeding.
The same problem occurs with laser cutters and CNC machines. Very narrow lines may not survive the kerf (the width of material removed by the cutting tool). A design that looks perfect at full scale may crumble when reduced to a 3-inch diameter.
Better approach: Before cutting, simulate the result. In software like LightBurn or LaserGRBL, you can preview the toolpath and see where thin sections might fail. For vinyl cutting, enlarge the design if necessary, or simplify the pattern by removing the smallest interior details. A good rule of thumb: any line thinner than the material thickness plus the kerf width is risky. For paper and cardstock, a minimum line width of about 1 mm is safer. For wood or acrylic, adjust based on the material and tool diameter.
Also, always do a test cut on scrap material. This is not an optional step—it is the difference between a clean ornament and a wasted sheet of material.
Mistake #4: Using the Mandala Without Checking Licensing or Usage Rights
Digital products are often treated as free-for-all resources, but the Mandala Circular Ornament from SkyeCreativeStudio carries all rights reserved © 2020. That means the creator retains full control over how the design is used. You may be able to use it in personal projects, printed items for sale, or digital products, but the terms can vary widely between sellers.
Some designers allow unlimited commercial use with credit; others restrict use to personal projects or cap the number of end products you can sell. A small business owner who assumes "I bought it, so I can do whatever I want" risks a takedown notice or, in rare cases, legal action.
Better approach: Read the license or terms of use included with your download. If the listing does not clearly state commercial use allowances, contact the seller. Keep a copy of the license with your project files. When in doubt, use a royalty-free or public-domain alternative. For the SkyeCreativeStudio product, check the product page or included documentation to see whether commercial use is permitted, and whether attribution is required.
Mistake #5: Overcomplicating the Design With Too Many Elements
A mandala circular ornament is already rich in detail. It is tempting to stack multiple mandalas, add text, include multiple colors, and apply complex effects. More often than not, this leads to a cluttered final product that loses the visual rhythm the mandala was designed to provide.
This is especially problematic for printed items like shirts or mugs, where too many competing elements reduce readability. For laser or CNC work, overlapping vector paths can cause the machine to cut the same line twice, increasing wear on bits and producing a rougher edge.
Better approach: Let the mandala breathe. Use it as a central focal point with minimal surrounding elements. If you are adding text, place it along the outer ring of the mandala or in a separate area. Stick to one or two colors for print applications. For physical cuts, keep the design clean and ensure all paths are unified—use your software's "combine" or "weld" functions to merge overlapping shapes into a single path before sending the file to your machine.
Mistake #6: Assuming the File Works Immediately in Every Software Version
Even when you pick the right format, software versions and settings can cause issues. SVG files created with newer versions of Illustrator may not render correctly in older versions of Cricut Design Space. DXF files saved with certain coordinate systems may appear mirrored in some laser software. EPS files can have embedded transparency that prints oddly if your RIP software does not handle it well.
Better approach: Update your software to the latest stable version whenever possible. Open the file in a free vector viewer like Inkscape or SVG Viewer before importing it into your main application. If the file looks correct there, you know the problem is in your target software's import settings. Try re-saving the file in a different format (for example, export from Inkscape as a simpler SVG profile) to improve compatibility. This extra verification step takes two minutes and prevents the frustration of a project that stalls halfway through cutting.
Mistake #7: Neglecting to Back Up the Original Digital Product
Digital downloads can be misplaced, accidentally deleted, or lost when a computer crashes. Many marketplaces do not allow unlimited redownloads, and the license key or purchase receipt may expire. Relying on a single copy of your Mandala Circular Lace Ornament files is risky, especially if you use the design repeatedly across multiple projects.
Better approach: Immediately after downloading, store the original ZIP file in at least two separate locations—your hard drive and cloud storage, for example. Keep a copy with your project assets so you can always return to the original. Rename the file with a descriptive title and the date of purchase so it stays findable years later.
What to Verify Before You Buy or Download
Before finalizing any purchase of a mandala circular ornament digital product, run through this quick checklist:
- Format checklist: Does the product include the exact formats your software and machines require? Make a note of which files you will actually use.
- Resolution review: If you intend to print, are the PNG and JPG files at least 300 DPI at the size you need?
- License clarity: Is commercial use allowed? Is attribution required? Does the license limit the number of end products?
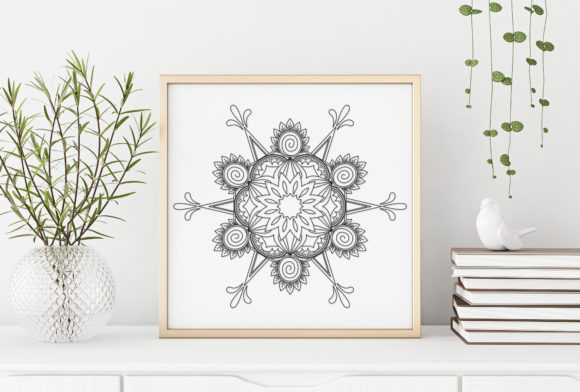
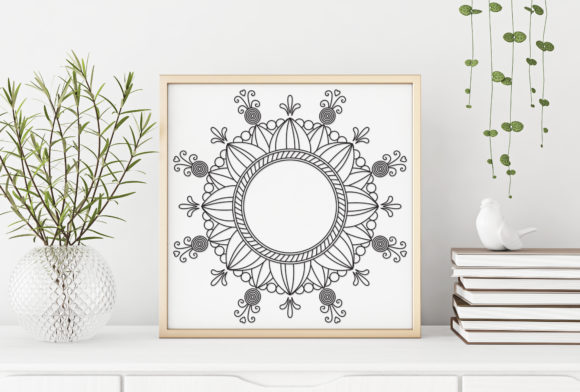
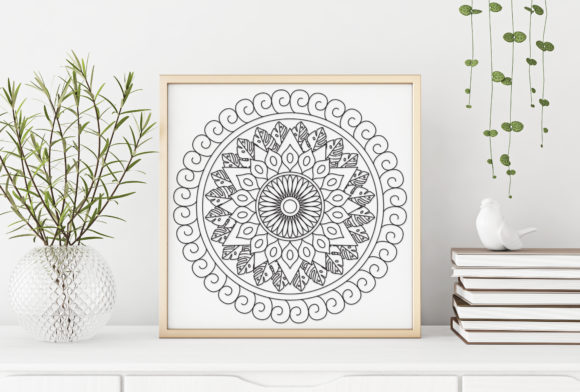
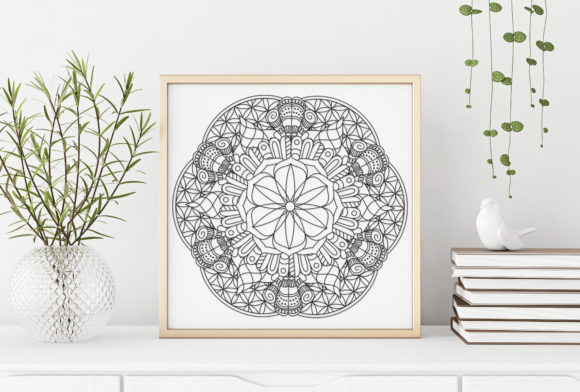
- File preview: Look at the product images carefully. Does the mandala have fine details that may not cut well at your intended scale?
- Support availability: Does the seller offer support if the file does not open correctly? Check reviews for mentions of compatibility issues.
Taking these steps upfront transforms a simple download into a reliable design asset. You avoid wasted time, wasted materials, and the frustration of a file that does not behave as expected.
Practical Workflow for Using a Mandala Circular Ornament
Once you have the right file and have verified licensing, follow a clean workflow to get the best results:
- Import and inspect: Open the vector file in your primary design application. Check that all paths are closed and no stray points exist. Use a preview mode to verify the design appears as shown in the listing.
- Scale thoughtfully: Resize the mandala to your target dimensions while holding the aspect ratio. For cutting, consider a minimum diameter that keeps interior details intact—around 5 inches is a safe starting point for intricate lace patterns.
- Simplify for cutting: Remove any overlapping duplicates and weld touching shapes. For laser cutting, ensure the line color corresponds to the correct layer (cut, engrave, score) in your software.
- Test before production: Run a small-scale test on inexpensive material. Adjust speed, power, or pressure based on the test results.
- Proceed with confidence: Once the test passes, scale up to your final project. Save the final file with a version number so you can reproduce it later.
Final Thoughts
The Mandala Circular Ornament and Mandala Circular Lace Ornament Single Vector Isolated on White Background is a valuable resource when handled correctly. Its range of formats and high-resolution output opens doors for wood carving, tattoo design, sticker production, printing on apparel, home décor, and more. By matching the file type to your specific tools, respecting resolution limits, simplifying for physical cutting, and honoring the license, you turn a well-designed digital product into a reliable, repeatable success. The small upfront effort of checking compatibility and testing materials prevents the most common setbacks and lets you focus on creating the polished final result your customers and audience expect.